4 Tips to Help You Become a Sampling Pro
 Since we introduced our new 3 oz. sample jar that is better equipped for sampling, we’ve seen a drastic decrease in leaking, messy bottles arriving at our laboratory – meaning you get your results back faster.
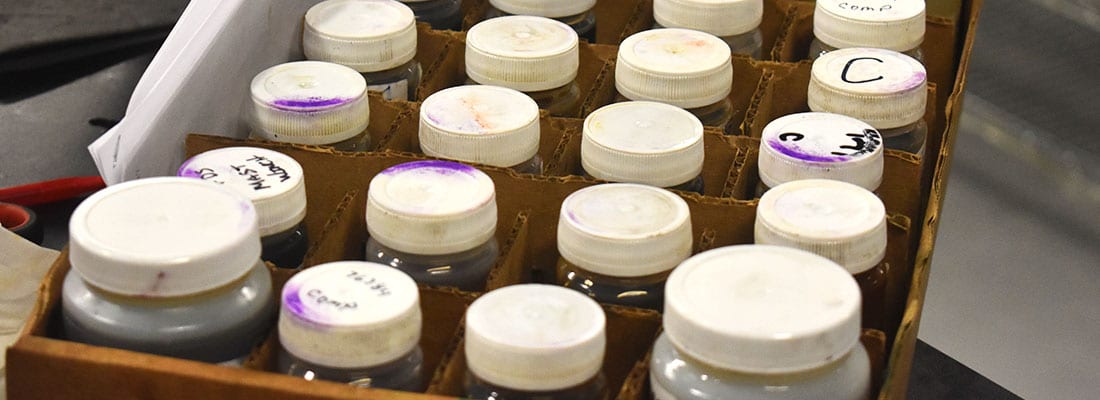
There are many benefits to the, somewhat still new, 3 oz. sample jar we released to our customers in the beginning of 2017. These benefits include translucency, higher temperature threshold and cap-locking with a wedge seal feature to prevent leaks.
Below are some extra tips to make sure you’re properly using the bottle like a pro and sampling correctly, so you can get the most accurate and reliable test results.
- Pull samples utilizing safe sampling practices [see our blog Fluid Analysis 101: 5 Tips for Collecting the Best Sample] and proper protective equipment. While the 3 oz. sample jar is designed to withstand higher fluid temperatures, safety should always be top of mind.
- Once the fluid sample has been taken, inspect the jar for particles – now that you can see the fluid that was pulled out of your equipment (due to the translucency of the jar), be aware of what is floating inside so when your results come back, proper action can be taken.
- Fill the sample bottle only to the designated “Fill Line” – no higher.
- If there is fluid in the neck of the bottle, air may not release causing the cap to not seal properly.
- Do not over tighten (torque) the sample cap. The cap’s unique locking feature helps to ensure that it doesn’t loosen when the sample jar cools and the wedge seal prevents leaking.
We hope these extra tips will come in handy when you’re taking your next sample. Here at POLARIS Laboratories®, we’re continuously making improvements and providing useful resources to help our customers maximize their fluid analysis program.
Proven Impact. Proven Uptime. Proven Savings.
Let us prove it to you.


