VIDEO: How to Take a Grease Sample
Grease analysis allows you to tap into new information about your equipment health and reliability. Taking action from the recommendations on your grease analysis sample report means you can:
- Monitor consistency
- Identify contamination, oxidation and wear concentration
- Optimize your drain intervals
Each grease analysis sample kit includes the materials you need to take a grease sample and send it into the laboratory – including a spatula, plunger, syringe, grease sampler, shipping tube and envelope.
Grease Sampling: Easy as 1, 2, 3 … 4, 5
- Remove the plunger from the syringe.
- Use the narrow end of spatula to collect sample (~2 g) and fill the syringe with the grease.
- Use the syringe to fill the grease sampler.
- Place the cap on the grease sampler.
- Place the grease sampler into the provided shipping tube.
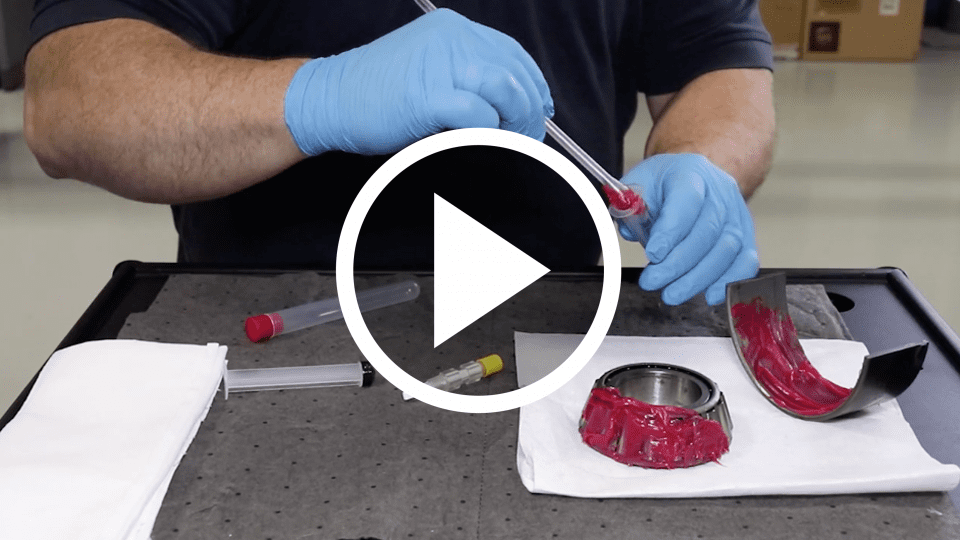
It’s that easy! Watch the video to learn how to take a grease sample from your equipment using our easy-to-use, cost-effective grease sampler.
How To Take a Grease Sample with a Grease Sampler
How To Take a Grease Sample with a T-Handle
Tips for taking a grease sample:
- Send in a baseline reference sample
- This allows us to compare results of used grease to the new grease
- Fill the syringe with as much grease as possible
- Collect your grease sample from the active zone in your equipment
Ready to learn more or start analyzing your grease?
Learn more about grease analysis, why it’s vital to a comprehensive fluid analysis program and what the tests identify by downloading our Grease Testing + Analysis FAQs.
Contact your account manager or submit our contact form to add grease testing to your fluid analysis program.


